
:max_bytes(150000):strip_icc()/aether-6066d2f8168142fab48a9181cb188da7.jpg)
In 2024, Free DIY Approaches to Design Your Own YouTube Cards
Free DIY Approaches to Design Your Own YouTube Cards
How to Create YouTube Intros & End Cards - Free and Easy

Shanoon Cox
Oct 26, 2023• Proven solutions
Part1: Intros
Elements of an Intro
Intros should only last about five seconds, and that can be cut down to two or three if you have a larger following.
When your intro video is longer than five seconds viewers are more likely to click away. The first 15 seconds of a video is when viewers are most likely to decide to click on one of the recommended videos, or go back to their search results and choose something else. The odds of them leaving within these first 15 seconds are greater if you do not get right to the main point of your video. That is why long intro sequences are bad for your watch time.
Whether it is better to put your intro at the very beginning of your video, or after you introduce your topic, will depend on your viewers. You may want to try it both ways and then look at your retention report (found in your YouTube Creator Studio under Analytics) to see which works best for you.
Top Intro Sites
There are a few different sites where you can download animated intros, customized to include your username or logo. Here are two of the best:
FlixPress.com
This is probably the most popular intro site. There are a lot of great animated intros available for under $5, or even for free.
IntroMaker.net
This is another site with really professional looking intros for $5. They only have two free options, though.
Creating an Intro in Filmora
You can create a simple intro card in Filmora.


- Choose your background. You may want to use a short clip as your intro, or you may just want a colored background.
- Drag your clip or background into the video track of your timeline and trim it down to five seconds.
- If you have a logo, import it into Filmora and drag it into your picture-in-picture track.
- With your logo selected, click on the Green Screen icon. In the pop-up, select the background of your logo to make it transparent. For this to work your logo cannot be the same color as its background.
- Click on the editing icon with your logo selected and choose an animation.
- Go to the Text/Titles menu and choose an animated title that suits your channel. Drag it into your text track and edit it to include your name.
- The last piece of your intro is sound. You can choose a song from Filmora’s library and cut it down to five seconds, or import your sound effect.
- Export your video and save it for use in all of your other videos.
Part 2: End Cards
When your video ends, YouTube will recommend a selection of videos users may want to watch next. Often, these recommendations will not include more of your videos.
To keep viewers on your channel, you can create your End Card which recommends other content you have created.
Elements of an End Card
An end card includes clips from two or three of your videos, muted, and shrunk down to thumbnail-size. Using spotlight annotations you can make these thumbnails click-able.
It is also important that your end card includes multiple calls to action. A call to action is meant to spur a viewer to some kind of action. Writing ‘Check out this video’ above one of your thumbnails is a call to action.
You should also have a subscribe link somewhere in your end card, ideally a very noticeable button with a proven call to action like ‘Subscribe Now!’.
Some creators will leave their end cards at that and play music overtop, but it can be even more effective to include a voiceover where you ask viewers to subscribe and watch your other videos.
How To Make an End Card
- Choose a static background. You may want to download an end card template or create one in a drawing program. If you do, make sure to include calls to action like ‘Watch more!’ and ‘Subscribe’.
- Drag your background into your timeline at the end of your video.
- Import two or three of your previous videos and drag them into your picture in picture tracks. Each clip should be on its track.
- Trim the clips in your picture in picture track down to the same length as your end card.
- Shrink your clips down to thumbnail-size by dragging their corners in the preview window.
- Position your clips so they are spaced evenly by dragging them in the preview screen.
- Mute your clips.
- If your background does not include any calls to action, choose a title from the Text/Titles menu in Filmora and create at least two – one asking viewers to subscribe, and one asking them to watch your suggested videos.
- Export your video from Filmora and upload it to YouTube.
- Go to your Video Manager and select Annotations in the drop-down menu next to your video.
- Go to your end card in the previewer, as that is where you want to add your annotations.
- Click Add Annotation and add a spotlight annotation to your video. Stretch it over one of your thumbnails and then check the Link box under your Annotation’s timing. Insert a link to the video you are previewing.
- Repeat for any other thumbnails. For your subscribe button, change where it said ‘Video’ to ‘Subscribe’ and enter your channel URL.
- Click Apply Changes.
Shanoon Cox
Shanoon Cox is a writer and a lover of all things video.
Follow @Shanoon Cox
Shanoon Cox
Oct 26, 2023• Proven solutions
Part1: Intros
Elements of an Intro
Intros should only last about five seconds, and that can be cut down to two or three if you have a larger following.
When your intro video is longer than five seconds viewers are more likely to click away. The first 15 seconds of a video is when viewers are most likely to decide to click on one of the recommended videos, or go back to their search results and choose something else. The odds of them leaving within these first 15 seconds are greater if you do not get right to the main point of your video. That is why long intro sequences are bad for your watch time.
Whether it is better to put your intro at the very beginning of your video, or after you introduce your topic, will depend on your viewers. You may want to try it both ways and then look at your retention report (found in your YouTube Creator Studio under Analytics) to see which works best for you.
Top Intro Sites
There are a few different sites where you can download animated intros, customized to include your username or logo. Here are two of the best:
FlixPress.com
This is probably the most popular intro site. There are a lot of great animated intros available for under $5, or even for free.
IntroMaker.net
This is another site with really professional looking intros for $5. They only have two free options, though.
Creating an Intro in Filmora
You can create a simple intro card in Filmora.
- Choose your background. You may want to use a short clip as your intro, or you may just want a colored background.
- Drag your clip or background into the video track of your timeline and trim it down to five seconds.
- If you have a logo, import it into Filmora and drag it into your picture-in-picture track.
- With your logo selected, click on the Green Screen icon. In the pop-up, select the background of your logo to make it transparent. For this to work your logo cannot be the same color as its background.
- Click on the editing icon with your logo selected and choose an animation.
- Go to the Text/Titles menu and choose an animated title that suits your channel. Drag it into your text track and edit it to include your name.
- The last piece of your intro is sound. You can choose a song from Filmora’s library and cut it down to five seconds, or import your sound effect.
- Export your video and save it for use in all of your other videos.
Part 2: End Cards
When your video ends, YouTube will recommend a selection of videos users may want to watch next. Often, these recommendations will not include more of your videos.
To keep viewers on your channel, you can create your End Card which recommends other content you have created.
Elements of an End Card
An end card includes clips from two or three of your videos, muted, and shrunk down to thumbnail-size. Using spotlight annotations you can make these thumbnails click-able.
It is also important that your end card includes multiple calls to action. A call to action is meant to spur a viewer to some kind of action. Writing ‘Check out this video’ above one of your thumbnails is a call to action.
You should also have a subscribe link somewhere in your end card, ideally a very noticeable button with a proven call to action like ‘Subscribe Now!’.
Some creators will leave their end cards at that and play music overtop, but it can be even more effective to include a voiceover where you ask viewers to subscribe and watch your other videos.
How To Make an End Card
- Choose a static background. You may want to download an end card template or create one in a drawing program. If you do, make sure to include calls to action like ‘Watch more!’ and ‘Subscribe’.
- Drag your background into your timeline at the end of your video.
- Import two or three of your previous videos and drag them into your picture in picture tracks. Each clip should be on its track.
- Trim the clips in your picture in picture track down to the same length as your end card.
- Shrink your clips down to thumbnail-size by dragging their corners in the preview window.
- Position your clips so they are spaced evenly by dragging them in the preview screen.
- Mute your clips.
- If your background does not include any calls to action, choose a title from the Text/Titles menu in Filmora and create at least two – one asking viewers to subscribe, and one asking them to watch your suggested videos.
- Export your video from Filmora and upload it to YouTube.
- Go to your Video Manager and select Annotations in the drop-down menu next to your video.
- Go to your end card in the previewer, as that is where you want to add your annotations.
- Click Add Annotation and add a spotlight annotation to your video. Stretch it over one of your thumbnails and then check the Link box under your Annotation’s timing. Insert a link to the video you are previewing.
- Repeat for any other thumbnails. For your subscribe button, change where it said ‘Video’ to ‘Subscribe’ and enter your channel URL.
- Click Apply Changes.
Shanoon Cox
Shanoon Cox is a writer and a lover of all things video.
Follow @Shanoon Cox
Access High-Quality YouTube Images Without Paying a Dime
Best Free Downloaders: Download YouTube Thumbnail for Free[Online/Win/Mac]

Richard Bennett
Mar 27, 2024• Proven solutions
What is a YouTube thumbnail?
A YouTube thumbnail is nothing but the cover image shown on a video file on YouTube. It shows what you are going to talk about in the youtube video. A cool thumbnail will make the viewers want to click your video which in turn will help you to improve the traffic and number of clicks per video. Sometimes you may want to download youtube thumbnail from others. But it is very difficult to download a thumbnail directly from YouTube and many of you might not know that a thumbnail can be downloaded from elsewhere and then added to your content.
Here in this article, we will introduce the best 6 online tools available in the market to download YouTube thumbnail.
- 6 Online Tools to Download YouTube Thumbnail for Free
- Bonus Tips to Create a Clickable YouTube Thumbnail
6 Online Tools to Download YouTube Thumbnail for Free
Knowing the importance of YouTube thumbnails, you might now be wondering where to download the thumbnails for free. Let us have a look at some of the tools that can help you download YouTube thumbnail for free.
1. YouTube Thumbnail Image Tool
The YouTube Thumbnail Image Tool is a simple and free tool that helps you to download a thumbnail in four dimensions for your video, i.e. MQ 320*180, HQ 480*360, SD 640*480, and HD 1920*1080. Whether you are using a Windows or Mac OS, the thumbnail can be easily be downloaded via any browser.
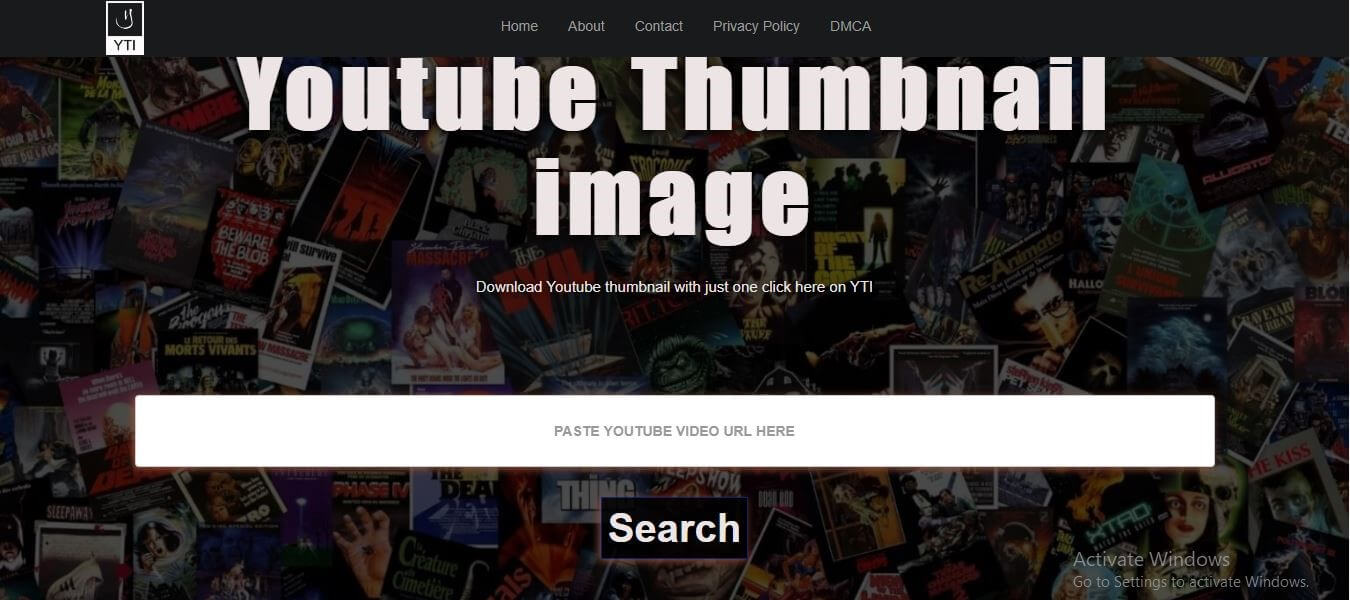
Steps to Download:
- Open any browser and open this youtube thumbnail image tool from Here
- Copy the link from your youtube video
- Paste the URL link of the video in the box and hit on Search
- You will be then displayed different qualities of the thumbnail. Choose one (HD is recommended) and hit the Download button
The selected quality of thumbnail will be downloaded to your storage which can later be used while uploading a video to YouTube.
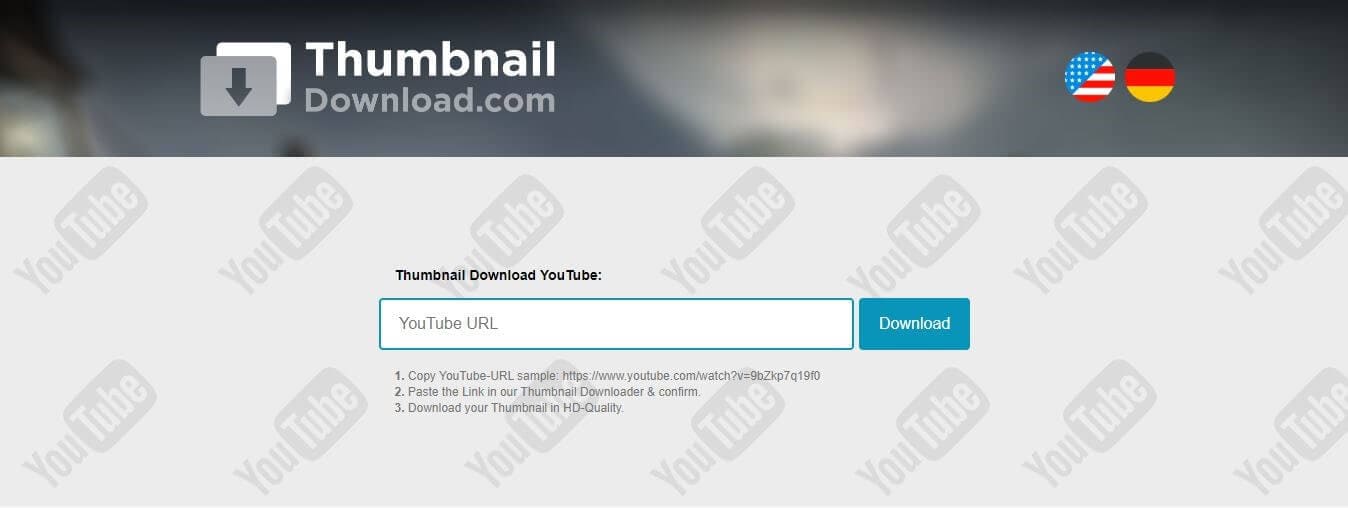
2. Online YouTube Thumbnail Downloader
This online YouTube Thumbnail Downloader tool has a lot of features among which creating thumbnail for a YouTube video is one. This free online tool can easily be accessed both on Windows and Mac OS via any browser. This downloader can generate thumbnails for videos in HD, HQ 1080p, and 4K formats and the thumbnails will be available in SD, HD(720), and Full HD(1080).
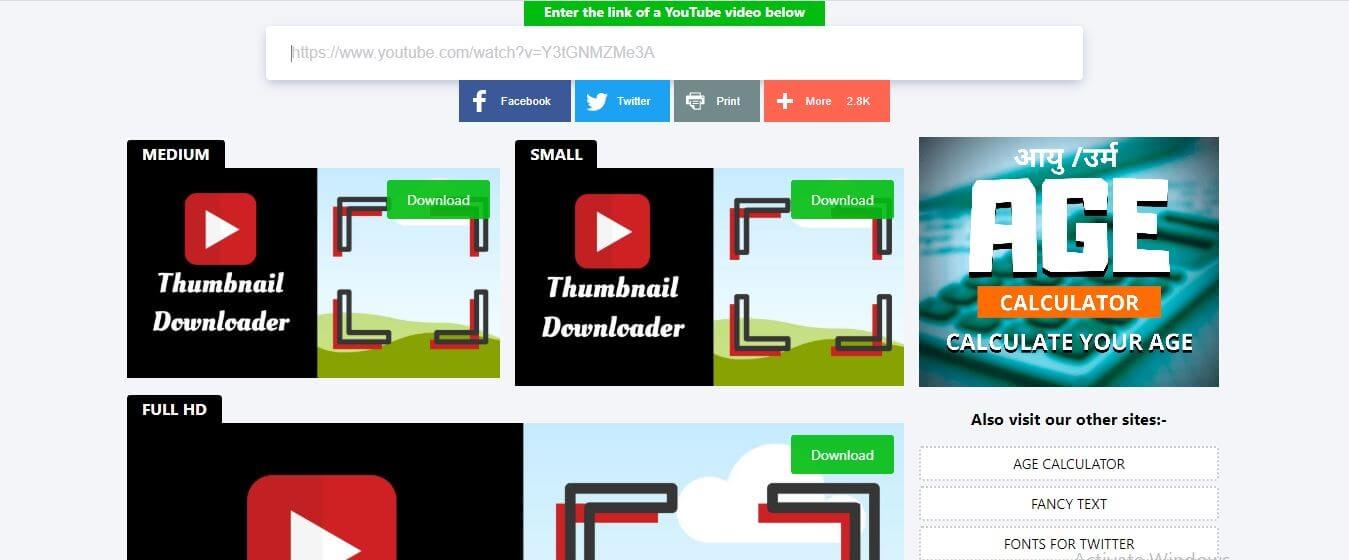
Steps to Download:
- Copy the link of the youtube video you wish to generate the thumbnail
- Click Here to open this free tool with your browser and paste the link in the box displayed at the top
- As soon as you paste the link, the available qualities of the thumbnail will be displayed just below the box
- Choose your desired quality of the image and hit on the Download button on the image you wish to download
The image will be downloaded and saved to your device instantly. You can now use it as a thumbnail for your YouTube video.
3. Thumbnail Save Tool
The Thumbnail Save Tool is also a free online tool which you can access from the browser of your Windows or Mac. It is a very simple tool that can generate thumbnails for HQ, HD, 1080P, and 4K videos instantly. Let us see how the thumbnail can be generated
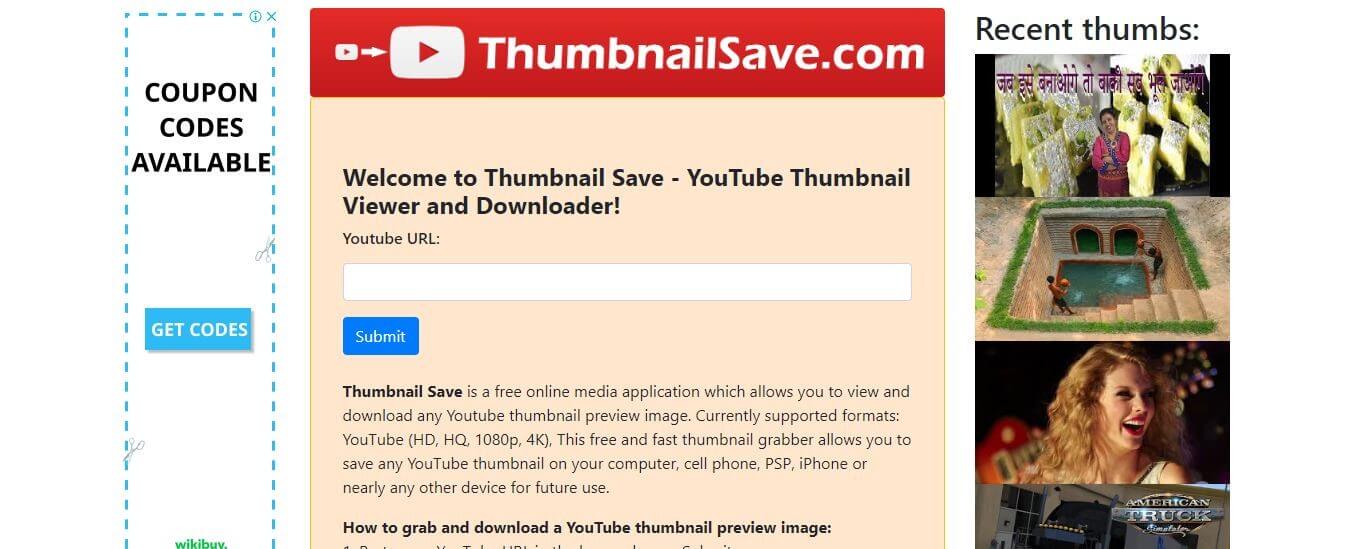
Steps to Download:
- Copy the URL of the video you want to create thumbnail
- Open this Thumbnail Save Tool from Here via your browser
- Paste the copied link in the box above Submit and hit Submit. Then the thumbnail will be generated instantly
- Now, to save the generated image to your device, right-click on the thumbnail and select the Save image as… option
The image will be saved to your device for later use as a thumbnail for your YouTube video.
4. YouTube Thumbnail Grabber
The YouTube thumbnail grabber is an online tool that can help you to download a thumbnail from a YouTube video for free. This tool can simply be accessed both by windows and Mac users through any browser. This tool helps you to download a thumbnail in any quality in some simple steps. Let us see how.
Steps to Download:
- Open this youtube thumbnail grabber from Here with any browser. Then Copy the link of the youtube video.
- Paste the link in the box displayed on the page and hit the Get Thumbnails Image tab
- Five different qualities of thumbnails will be generated among which you can choose your desired quality
- Hit the Download button below the image you chose
The thumbnail will be downloaded to your device for later use.
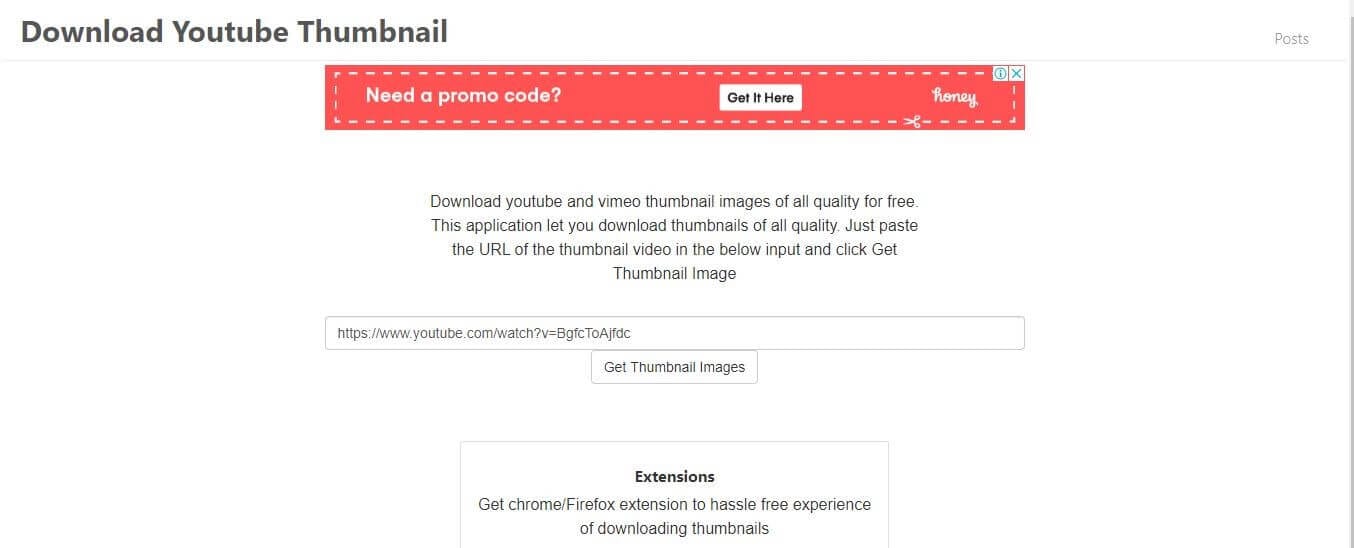
5. Thumbnail Download Tool
This thumbnail download tool allows generating thumbnails from video platforms like Dailymotion, Vimeo, Facebook, and YouTube. It is a free online tool that enables you to download the thumbnail of your video in the best quality. The tool can be accessed both on Windows and Mac OS without any issues. Let us see how the thumbnail can be downloaded for YouTube.
Steps to Download:
- Copy the URL link of the video you wish to generate a thumbnail
- Click Here to open this Thumbnail Download Tool with your browseron any browser of your Windows or iOS.
- Paste the copied link in the box and press the Download button
- Choose the picture size among the results displayed
- Save the picture to your PC
Your thumbnail image is now ready to be used.
6. YouTube Thumbnail Downloader
The YouTube Thumbnail Downloader is an online tool that can help you to create thumbnails for your YouTube videos and blogs. This tool will help you to download full HD 1080*720 images from YouTube for free, irrespective of the operative system you are using. Let us see how the thumbnail can be downloaded
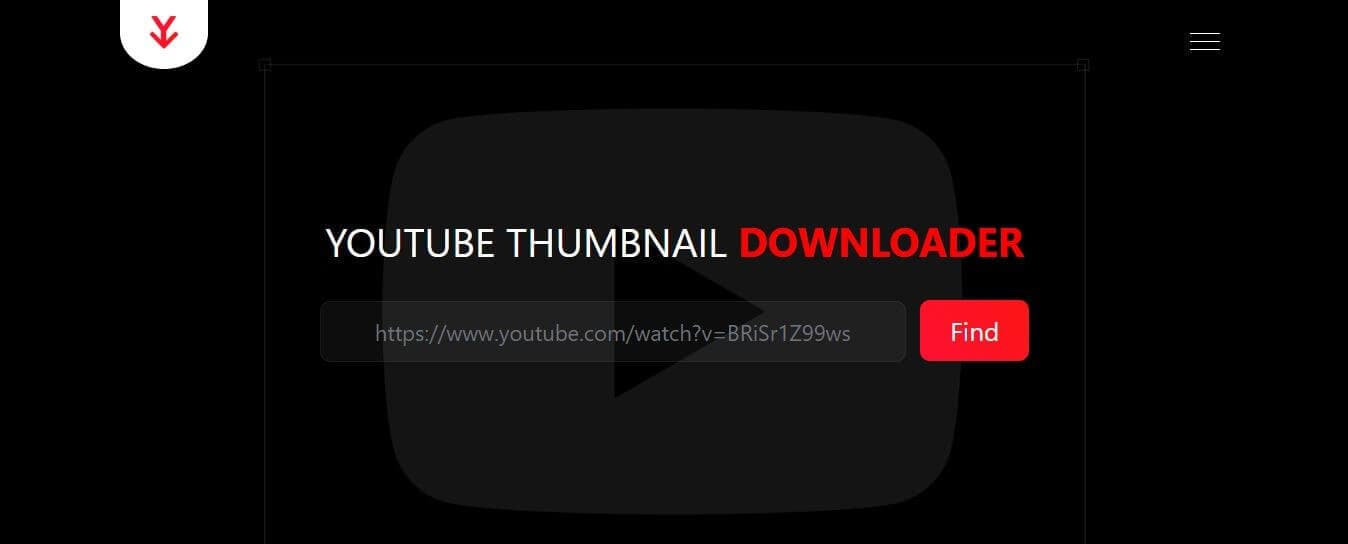
Steps to Download:
- Copy the link of any YouTube video you wish to generate a thumbnail
- Click Here in your browser and Paste the link in the box
- Hit the Find button. Then different qualities of the image will be displayed
- Select your desired quality and tap on the download icon on the respective image
The image will now be saved to your device
Bonus Tips to Create a Clickable YouTube Thumbnail
Don’t know how to create a clickable youtube thumbnail? Here we will recommend 5 tips for you!
1. Great thumbnail image quality and size
The thumbnail image quality should be good (HD/UHD). It should be bright. No matter what the device (a large TV) the viewers are using, care must be taken to avoid getting blurry thumbnails. The quality and the correct size of the thumbnail will create a positive image of the video in the user’s mind even before viewing the video. The video must be viewed from a variety of devices to test if the quality differs in different devices. Here are some specs for a perfect thumbnail
- The image formats should be in GIF, JPG PNG OR BMP
- The maximum size of the image must be 1280*720 px
- The minimum size 640*360 px
- The aspect ratio 16:9
- The maximum file size 2MB
2. Show a person in the Thumbnail image
A human face will get you closer to your audience. Our brain is wired in a way that a human face will draw its attention more than anything. So the users will naturally would an image with a human delivering the content rather than a robot or just a video of nonliving things. People tend to find a connection with the characters displayed on the thumbnail and hence prompting them to click on the video.
3. Use descriptive text in your thumbnail with branding elements
It is not completely possible to deliver a message through a picture and hence try to use descriptive texts. The texts should be clear enough and must be phrased in a manner that increases the curiosity or appeals to the emotions of the viewers. People tend to click a video just because of curiosity, wanting to know what the content is about. The type of font, color, and size also plays an important role in catching the attention of the audience.
4. Make Color Contrast between the text and background
Complementary colors will make your thumbnail stand out to some extent. Combining a yellow background with a purple foreground or green with red will make it easier to draw the attention of the browsers. Also, the use of analogous colors in the thumbnail makes it more attractive and pleasing to the eye.
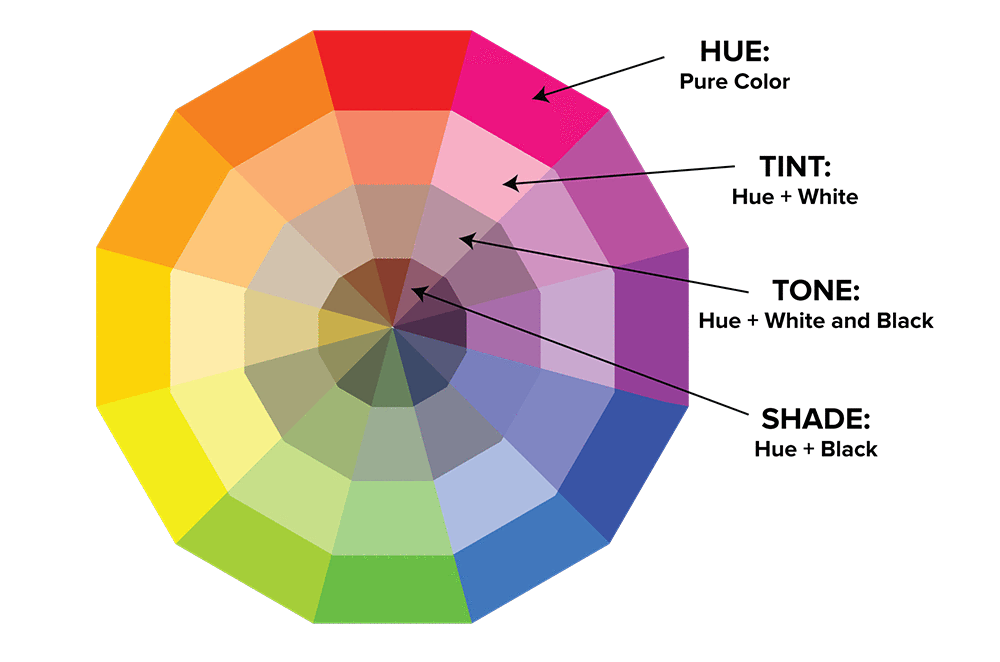
Image resource: Pinterest
Analogous colors are the colors that appear next to each other on a color wheel
5. Consistency
Consistency is something most of the people prefer and makes a thing more attractive. A thumbnail video with consistent text font, color tuning, visual effect, etc. will catch the eye of the users as it will stand apart in the whole webpage. Consistency adds to the standards of a video and will make people feel that this video is productive or from an authentic source
Create Your Own YouTube Thumbnail with Filmora for Free
Now that we have learned about how to download YouTube thumbnail for free and the rules you should follows, you may want to create a thumbnail. There are many Youtube thumbnail makers on the market that can help you create a YouTube thumbnail like Canva, PixStudio and more. However, we would like to be different today and recommend Filmora to you.
The benefits of using Filmora to create your YouTube thumbnail is that you don’t need to look for other softwares. You can make a thumbnail while you are editing your video with Filmora easily.
Wondering how can you do it? Here is a video guide for you.
Conclusion
Getting the proper size and quality of a YouTube thumbnail is very important for activities like blogging, designing, etc. Here in this article, we have described how to download YouTube thumbnail from the best free downloaders available online in simple steps. These Thumbnail downloading tools can be accessed from any device with an internet connection and will help you to download the perfect thumbnail image of your choice within minutes. Please leave your feedback about our suggestions in the comment box below.
Richard Bennett
Richard Bennett is a writer and a lover of all things video.
Follow @Richard Bennett
Richard Bennett
Mar 27, 2024• Proven solutions
What is a YouTube thumbnail?
A YouTube thumbnail is nothing but the cover image shown on a video file on YouTube. It shows what you are going to talk about in the youtube video. A cool thumbnail will make the viewers want to click your video which in turn will help you to improve the traffic and number of clicks per video. Sometimes you may want to download youtube thumbnail from others. But it is very difficult to download a thumbnail directly from YouTube and many of you might not know that a thumbnail can be downloaded from elsewhere and then added to your content.
Here in this article, we will introduce the best 6 online tools available in the market to download YouTube thumbnail.
- 6 Online Tools to Download YouTube Thumbnail for Free
- Bonus Tips to Create a Clickable YouTube Thumbnail
6 Online Tools to Download YouTube Thumbnail for Free
Knowing the importance of YouTube thumbnails, you might now be wondering where to download the thumbnails for free. Let us have a look at some of the tools that can help you download YouTube thumbnail for free.
1. YouTube Thumbnail Image Tool
The YouTube Thumbnail Image Tool is a simple and free tool that helps you to download a thumbnail in four dimensions for your video, i.e. MQ 320*180, HQ 480*360, SD 640*480, and HD 1920*1080. Whether you are using a Windows or Mac OS, the thumbnail can be easily be downloaded via any browser.
Steps to Download:
- Open any browser and open this youtube thumbnail image tool from Here
- Copy the link from your youtube video
- Paste the URL link of the video in the box and hit on Search
- You will be then displayed different qualities of the thumbnail. Choose one (HD is recommended) and hit the Download button
The selected quality of thumbnail will be downloaded to your storage which can later be used while uploading a video to YouTube.
2. Online YouTube Thumbnail Downloader
This online YouTube Thumbnail Downloader tool has a lot of features among which creating thumbnail for a YouTube video is one. This free online tool can easily be accessed both on Windows and Mac OS via any browser. This downloader can generate thumbnails for videos in HD, HQ 1080p, and 4K formats and the thumbnails will be available in SD, HD(720), and Full HD(1080).
Steps to Download:
- Copy the link of the youtube video you wish to generate the thumbnail
- Click Here to open this free tool with your browser and paste the link in the box displayed at the top
- As soon as you paste the link, the available qualities of the thumbnail will be displayed just below the box
- Choose your desired quality of the image and hit on the Download button on the image you wish to download
The image will be downloaded and saved to your device instantly. You can now use it as a thumbnail for your YouTube video.
3. Thumbnail Save Tool
The Thumbnail Save Tool is also a free online tool which you can access from the browser of your Windows or Mac. It is a very simple tool that can generate thumbnails for HQ, HD, 1080P, and 4K videos instantly. Let us see how the thumbnail can be generated
Steps to Download:
- Copy the URL of the video you want to create thumbnail
- Open this Thumbnail Save Tool from Here via your browser
- Paste the copied link in the box above Submit and hit Submit. Then the thumbnail will be generated instantly
- Now, to save the generated image to your device, right-click on the thumbnail and select the Save image as… option
The image will be saved to your device for later use as a thumbnail for your YouTube video.
4. YouTube Thumbnail Grabber
The YouTube thumbnail grabber is an online tool that can help you to download a thumbnail from a YouTube video for free. This tool can simply be accessed both by windows and Mac users through any browser. This tool helps you to download a thumbnail in any quality in some simple steps. Let us see how.
Steps to Download:
- Open this youtube thumbnail grabber from Here with any browser. Then Copy the link of the youtube video.
- Paste the link in the box displayed on the page and hit the Get Thumbnails Image tab
- Five different qualities of thumbnails will be generated among which you can choose your desired quality
- Hit the Download button below the image you chose
The thumbnail will be downloaded to your device for later use.
5. Thumbnail Download Tool
This thumbnail download tool allows generating thumbnails from video platforms like Dailymotion, Vimeo, Facebook, and YouTube. It is a free online tool that enables you to download the thumbnail of your video in the best quality. The tool can be accessed both on Windows and Mac OS without any issues. Let us see how the thumbnail can be downloaded for YouTube.
Steps to Download:
- Copy the URL link of the video you wish to generate a thumbnail
- Click Here to open this Thumbnail Download Tool with your browseron any browser of your Windows or iOS.
- Paste the copied link in the box and press the Download button
- Choose the picture size among the results displayed
- Save the picture to your PC
Your thumbnail image is now ready to be used.
6. YouTube Thumbnail Downloader
The YouTube Thumbnail Downloader is an online tool that can help you to create thumbnails for your YouTube videos and blogs. This tool will help you to download full HD 1080*720 images from YouTube for free, irrespective of the operative system you are using. Let us see how the thumbnail can be downloaded
Steps to Download:
- Copy the link of any YouTube video you wish to generate a thumbnail
- Click Here in your browser and Paste the link in the box
- Hit the Find button. Then different qualities of the image will be displayed
- Select your desired quality and tap on the download icon on the respective image
The image will now be saved to your device
Bonus Tips to Create a Clickable YouTube Thumbnail
Don’t know how to create a clickable youtube thumbnail? Here we will recommend 5 tips for you!
1. Great thumbnail image quality and size
The thumbnail image quality should be good (HD/UHD). It should be bright. No matter what the device (a large TV) the viewers are using, care must be taken to avoid getting blurry thumbnails. The quality and the correct size of the thumbnail will create a positive image of the video in the user’s mind even before viewing the video. The video must be viewed from a variety of devices to test if the quality differs in different devices. Here are some specs for a perfect thumbnail
- The image formats should be in GIF, JPG PNG OR BMP
- The maximum size of the image must be 1280*720 px
- The minimum size 640*360 px
- The aspect ratio 16:9
- The maximum file size 2MB
2. Show a person in the Thumbnail image
A human face will get you closer to your audience. Our brain is wired in a way that a human face will draw its attention more than anything. So the users will naturally would an image with a human delivering the content rather than a robot or just a video of nonliving things. People tend to find a connection with the characters displayed on the thumbnail and hence prompting them to click on the video.
3. Use descriptive text in your thumbnail with branding elements
It is not completely possible to deliver a message through a picture and hence try to use descriptive texts. The texts should be clear enough and must be phrased in a manner that increases the curiosity or appeals to the emotions of the viewers. People tend to click a video just because of curiosity, wanting to know what the content is about. The type of font, color, and size also plays an important role in catching the attention of the audience.
4. Make Color Contrast between the text and background
Complementary colors will make your thumbnail stand out to some extent. Combining a yellow background with a purple foreground or green with red will make it easier to draw the attention of the browsers. Also, the use of analogous colors in the thumbnail makes it more attractive and pleasing to the eye.
Image resource: Pinterest
Analogous colors are the colors that appear next to each other on a color wheel
5. Consistency
Consistency is something most of the people prefer and makes a thing more attractive. A thumbnail video with consistent text font, color tuning, visual effect, etc. will catch the eye of the users as it will stand apart in the whole webpage. Consistency adds to the standards of a video and will make people feel that this video is productive or from an authentic source
Create Your Own YouTube Thumbnail with Filmora for Free
Now that we have learned about how to download YouTube thumbnail for free and the rules you should follows, you may want to create a thumbnail. There are many Youtube thumbnail makers on the market that can help you create a YouTube thumbnail like Canva, PixStudio and more. However, we would like to be different today and recommend Filmora to you.
The benefits of using Filmora to create your YouTube thumbnail is that you don’t need to look for other softwares. You can make a thumbnail while you are editing your video with Filmora easily.
Wondering how can you do it? Here is a video guide for you.
Conclusion
Getting the proper size and quality of a YouTube thumbnail is very important for activities like blogging, designing, etc. Here in this article, we have described how to download YouTube thumbnail from the best free downloaders available online in simple steps. These Thumbnail downloading tools can be accessed from any device with an internet connection and will help you to download the perfect thumbnail image of your choice within minutes. Please leave your feedback about our suggestions in the comment box below.
Richard Bennett
Richard Bennett is a writer and a lover of all things video.
Follow @Richard Bennett
- Title: In 2024, Free DIY Approaches to Design Your Own YouTube Cards
- Author: Thomas
- Created at : 2024-05-31 12:44:44
- Updated at : 2024-06-01 12:44:44
- Link: https://youtube-help.techidaily.com/in-2024-free-diy-approaches-to-design-your-own-youtube-cards/
- License: This work is licensed under CC BY-NC-SA 4.0.
