
:max_bytes(150000):strip_icc()/chatgpt-588fc25767134c248543d3de511ed5ea.jpg)
"In 2024, Profitability Playbook The Ultimate Duo of Dm & Yo"
Profitability Playbook: The Ultimate Duo of Dm & Yo
Online video creators are always searching for ways to make their passion profitable. YouTube and Dailymotion are two of the largest video platforms. Millions of users use these platforms, and they have updated features. How do you choose the right video platform?
This article compares Dailymotion monetization to YouTube on privacy, audience, and analytics. To ease this exploration, Filmora is assisting us. This software edits videos to increase platforms’ income-generating potential. Read this article to monetize your videos in a better way, and join us on this journey.
Video Monetization Editor Create engaging and valuable videos with Wondershare Filmora for YouTube and Dailymotion Monetization!
Free Download Free Download Learn More

Part 1. Exploring YouTube and Dailymotion: Platforms for Creators

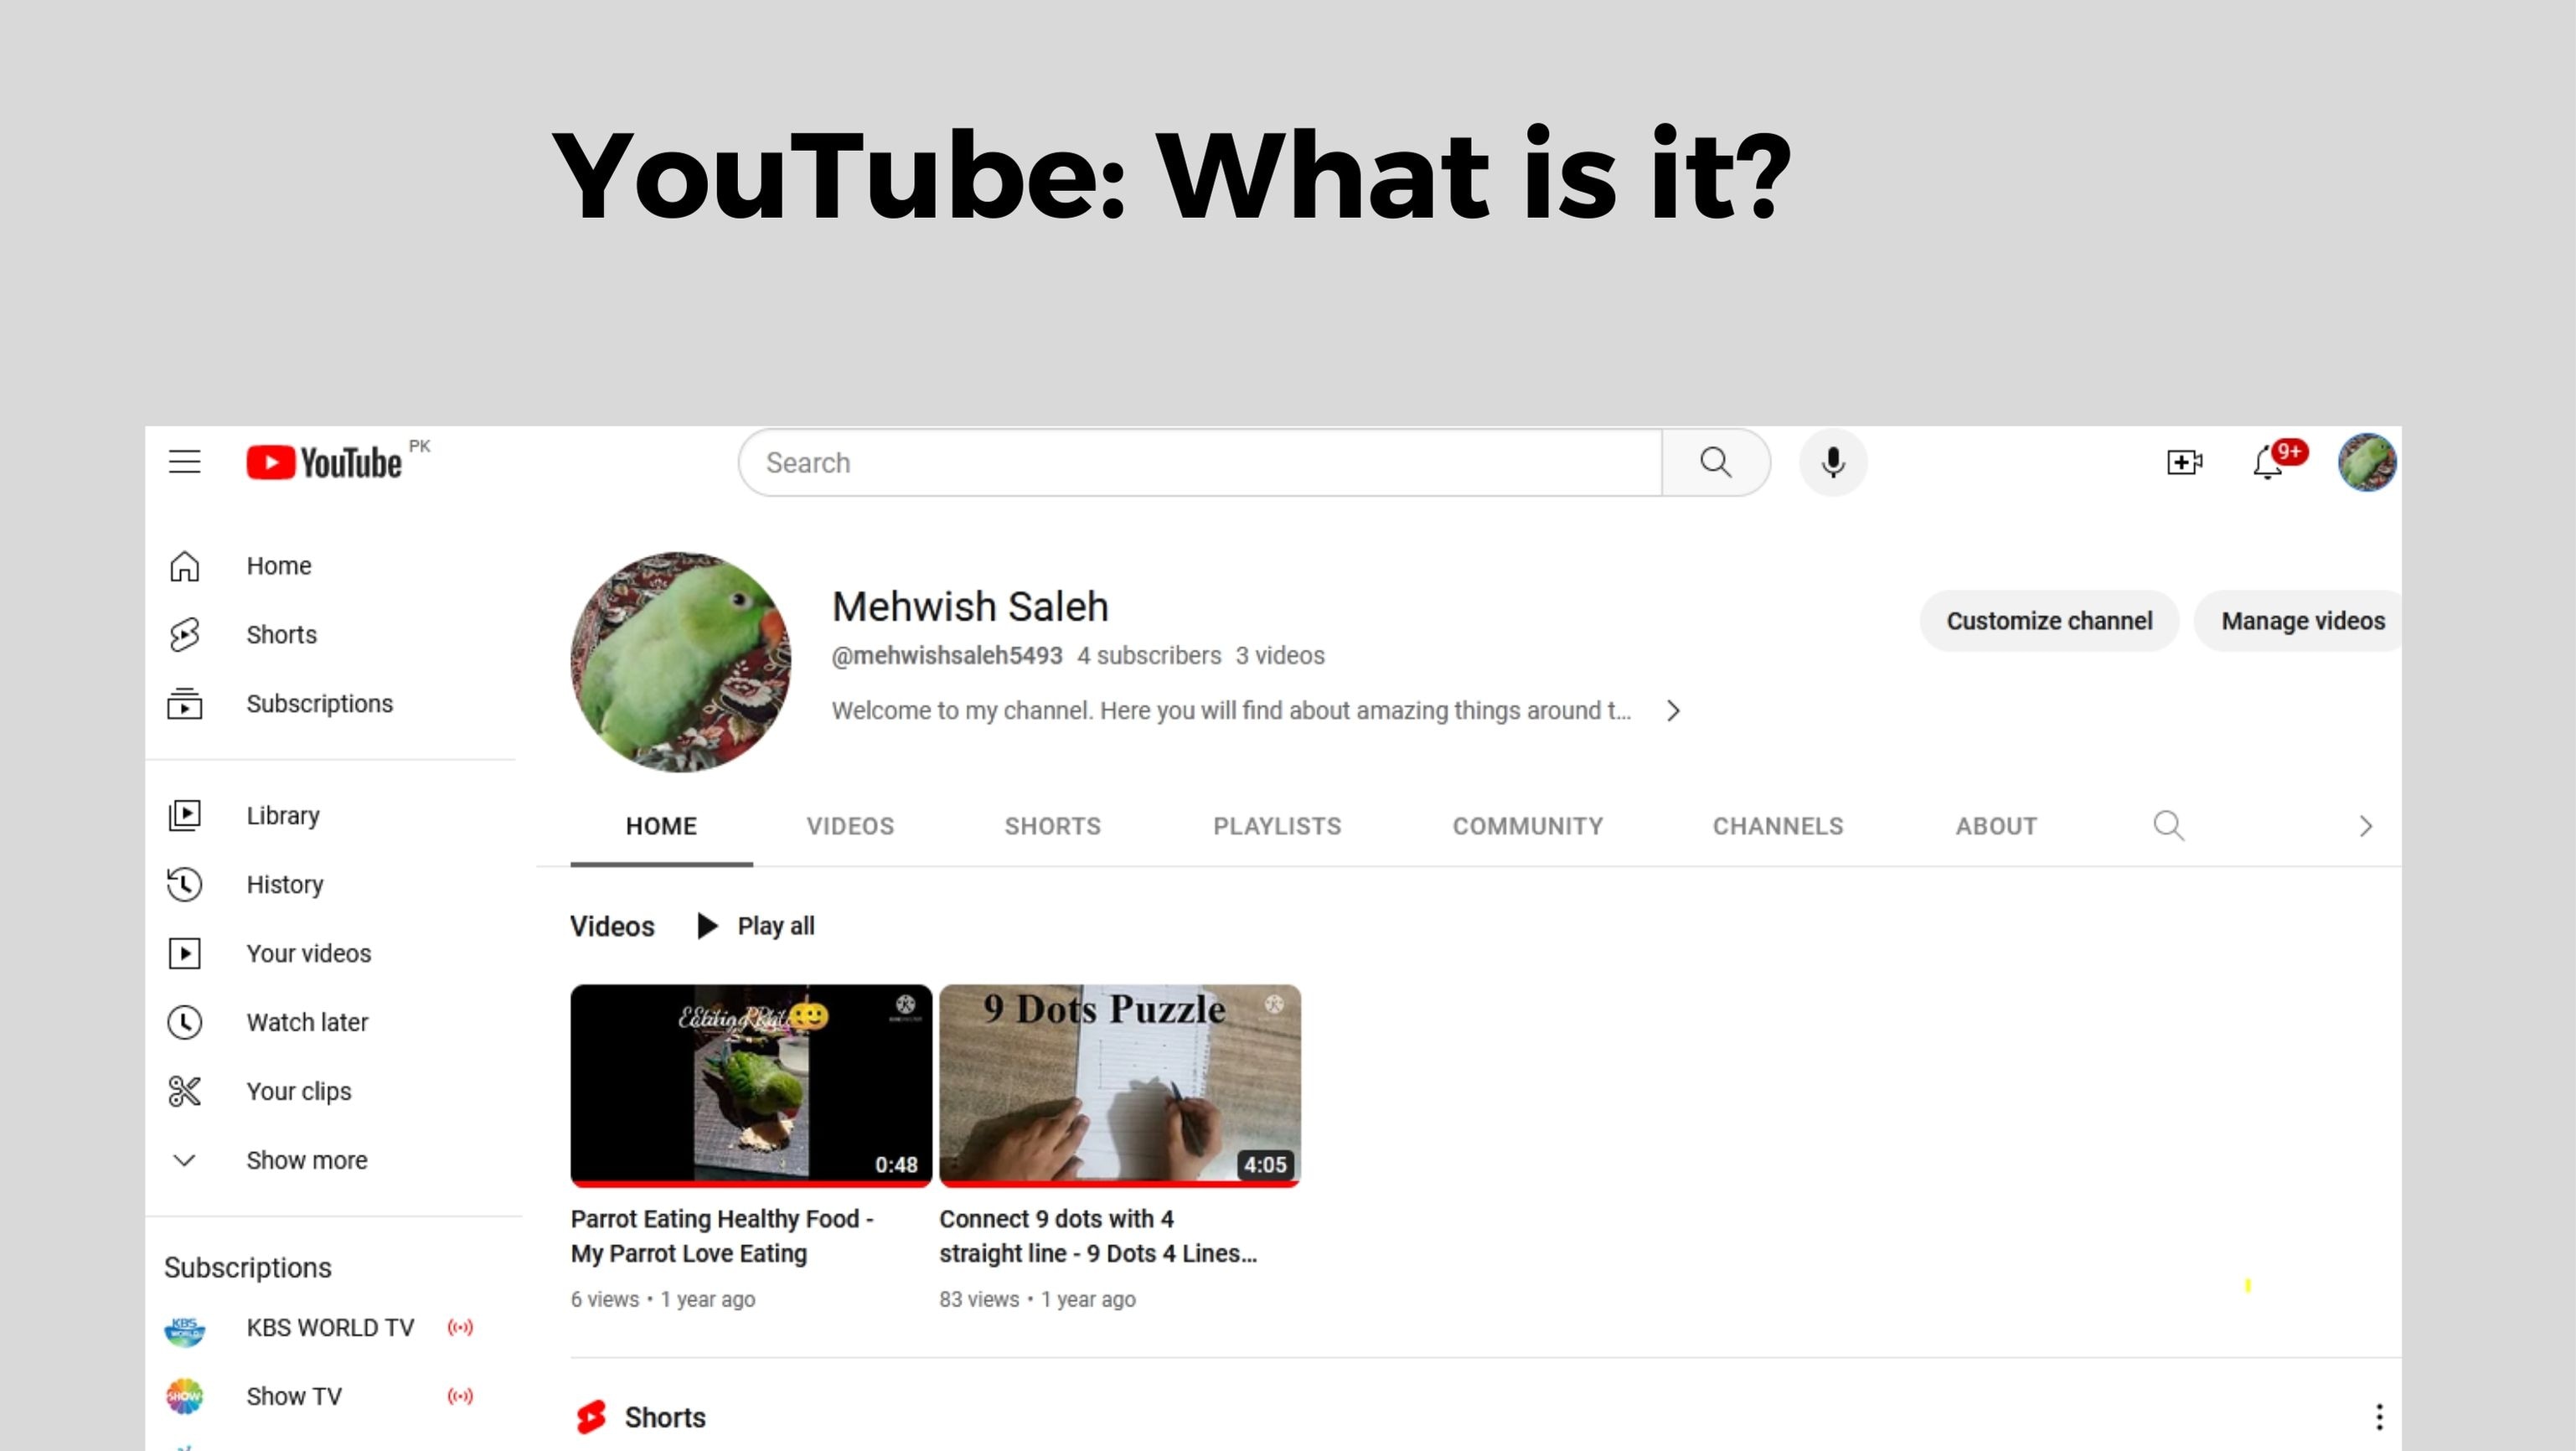
YouTube : What is it?
A three-person team, Chad Hurley, Steve Chen, and Jawed Karim, founded YouTube in 2005. Their goal is to create YouTube as a global platform for sharing videos. A huge $1.65 billion was paid by Google for buying YouTube. YouTube then became a more popular website with over two billion users every month.
Lots of creators, like makeup artists and gamers, make money on YouTube. With the platform, you can livestream, make money from your videos, and watch tons of user-made videos.
Dailymotion : What is it?
A French entrepreneur and an English entrepreneur founded Dailymotion in 2005. Dailymotion became one of the most popular video platforms in France and then Europe in just 1 year. You can upload and share videos on Dailymotion like on YouTube. There is a slight difference in their focus. Dailymotion’s content tends to be professional, while YouTube’s is user-made.
Dailymotion has over 300 million users every month. It’s accessible in 35 different languages. Also, for pro content, it offers features like “Motionmaker” to users and live streaming to creators.

The popularity and user base of YouTube and Dailymotion
YouTube’s user interface is very easy and simple to use. You can filter the results with date and popularity at the top bar of the website. You can watch YouTube without ads and gain access to YouTube analytics.
It’s cool to create your own channel on YouTube. It allows you to upload videos, customize your banner, and create a community.
It is easy to stream videos or share them with friends by creating playlists. YouTube and Dailymotion both have easy-to-use interfaces. You can customize your own channel, and it has categories and channels. YouTube has advanced playlist features, but Dailymotion does not.
It’s not all fun and games - YouTube has fewer ads than Dailymotion. A premium subscription to Dailymotion removes the ads and gives you access to other features.
Both Platforms have Different Content and Audiences
YouTube Content and Audience
Video content on YouTube ranges from cooking tips to music videos. It even offers live streaming concerts and mind-blowing documentaries. Gamer, beauty, sports, and learning enthusiasts will enjoy this channel.
YouTube allows you to upload 12-hour-long videos to increase your watch time. You can also share all types of experiences in the long video. Every day, 2.51 billion active users watch over one billion hours of content. Creators can showcase their work in high definition, up to 8K, on the platform, which is a major advantage. Mobile devices and smartphones also allow offline viewing of videos.
Dailymotion Content and Audience
There’s something special about Dailymotion. The site provides YouTube videos, animated shorts, music, documentaries, and TV shows. Although Dailymotion has upload limits, its videos are still of high quality, up to 1080p. There is a vibrant community of creators looking to connect with their audiences as well. There were 545.3 million visits to Dailymotion in April 2023, making it a strong competitor. Depending on your taste and the content you’re looking for, you can choose either.
Part 2. YouTube vs. Dailymotion Monetization: Unraveling the Key Differences
YouTube and Dailymotion monetization features and opportunities
It’s crucial for content creators to know which monetization options each platform offers. Let’s have a look at the monetization options available on YouTube and Dailymotion. It is possible to earn money from your content on both Dailymotion and YouTube. Dailymotion is easier to monetize, despite its broader and more sophisticated offering.
Programs and options for monetizing YouTube
There are many ways for YouTube creators to make money from their content. You can display video ads for sponsorships, AdSense payments, and merchandise sales. YouTube offers more monetization options and is more advanced than Dailymotion. The YouTube monetization rules can be tricky to meet for eligible accounts.
Programs and options for monetizaton Dailymotion
Creators can also monetize their content on Dailymotion. Dailymotion has fewer monetization options than YouTube. Unlike YouTube, Dailymotion allows creators to earn money through ads.
The Dailymotion Partner Program has made several French video creators extremely wealthy. The CPM is always low for video creators around the world, for whatever reason. Dailymotion Partners from France earn 3000 - 4000 euros per month. Global Partners withdraw the monthly least of $100.
Monetization Requirements and Earning Potential
YouTube’s YPP monetizes accounts with 1,000 subscribers and earns revenue through advertising. You’ll get 55% of the revenue generated by the ads shown during, before, and after your videos. It is also possible to charge channel memberships. For every 1,000 views, the average YouTuber makes about $18.
The Dailymotion Partner Program monetizes your videos. The least number of views you need to monetize your content is 1,000 (combined). One hour of watch time on the platform generates $57 in income, making it a great way to make money!
Choosing Between YouTube and Dailymotion Channel Monetization

Now that you’ve seen a YouTube vs. Dailymotion comparison, you are leaning toward one. Let’s dive into some key questions if you’re still not sure ( you can use both platforms ):
- Do you have a specific group in mind? It’s important to think about who your audience is.
- Are Your Videos Targeted? Do your videos match specific search queries?
- Video Length and Size: How long and big are your videos?
- Monetization: Want to make money? Consider your subscriber count.
- Privacy Control: How much control do you need over your content’s privacy?
- Analytics: Do you want detailed data on your video performance?
YouTube is your best bet if you want organic search traffic, a wide audience, and hefty videos. If you want privacy control, or if you want to monetize, Dailymotion shines.
Whatever you pick, remember to add captions to your videos. Transcription tools can help with that, making your content more accessible and engaging.
Part 3. Enhance Your Monetization Journey with Wondershare Filmora: A Video Editing Solution
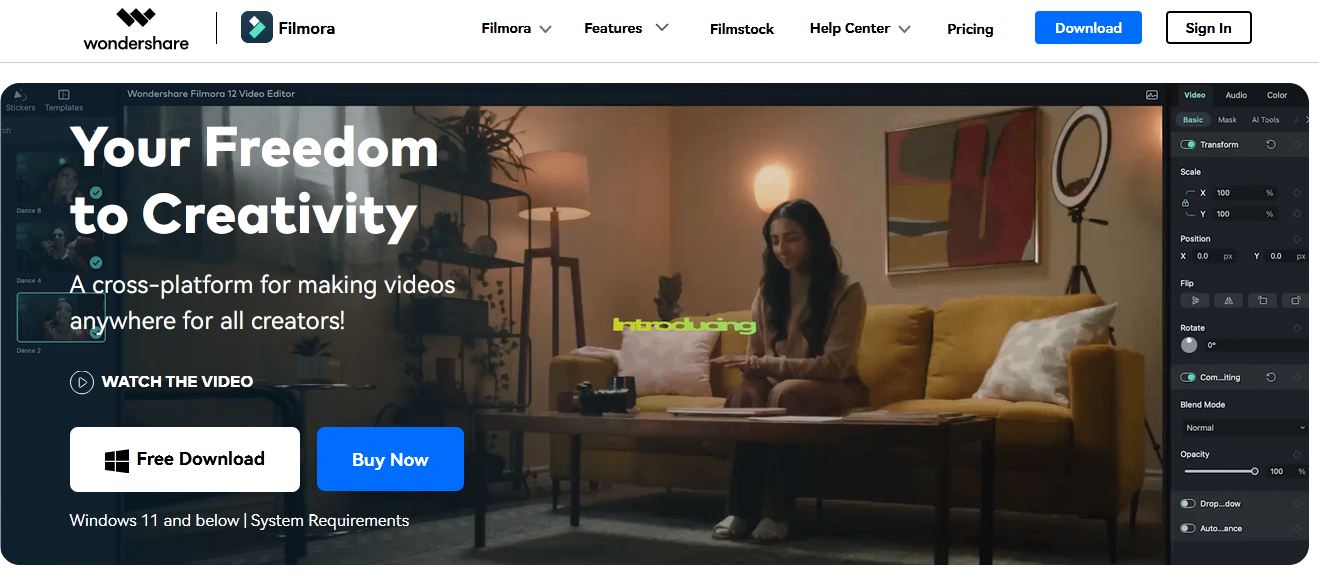
Let’s take a look at a powerful tool to enhance your gaming experience. It’s Wondershare Filmora. Creating engaging and valuable videos is easy with Wondershare Filmora. An attractive user interface, a media library, and many useful features make it a great choice. A video tool that turns content creators’ vision into professional content. Filmora is perfect for YouTubers, filmmakers, and vloggers of all skill levels.
Free Download For Win 7 or later(64-bit)
Free Download For macOS 10.14 or later
Filmora Features for Monetization Magic
1.Creative Templates
Filmora’s video templates make it easy to create nice videos. With these templates, you can easily make a captivating intro or an engaging end screen. You make more money when you keep your audience interested.

2. Advanced Audio Editing
To create engaging content, you must have great audio. With Filmora’s audio tools, you can stretch, denoise, and duck audio to improve your videos. Having engaged viewers means you’re more likely to generate income from ads and sales.

3. Enhancing Your Videos with Video Effects
Using Wondershare Filmora, you can transform your ordinary videos into something extraordinary. There are a variety of effects available, such as overlays, filters, and transitions. Filters allow you to change your videos’ feel and appearance. With overlays, like glitch overlays, you can enhance your videos.

4. Color Correction
Wondershare Filmora’s color correction tool can make your videos much better. You can change the colors and mood of your videos with Filmora’s color options. To make your videos look more professional, you can adjust their brightness or darkness. Using vibrant colors can help you earn more and draw in more customers.
Conclusion
When it comes to making money from your passion, picking the right platform is crucial. This guide has shown the main differences between YouTube and Dailymotion monetization. With Wondershare Filmora, you can make the most money from both places.
YouTube is great for long videos, a big audience, and finding people naturally. Monetization Dailymotion is good for making money without needing as many subscribers.
If you put captions on your videos, more people will watch. Think of Filmora as a friend who helps you make money with fun, good videos. It’s like having a partner in making money from your videos.
Free Download Free Download Learn More
Part 1. Exploring YouTube and Dailymotion: Platforms for Creators
YouTube : What is it?
A three-person team, Chad Hurley, Steve Chen, and Jawed Karim, founded YouTube in 2005. Their goal is to create YouTube as a global platform for sharing videos. A huge $1.65 billion was paid by Google for buying YouTube. YouTube then became a more popular website with over two billion users every month.
Lots of creators, like makeup artists and gamers, make money on YouTube. With the platform, you can livestream, make money from your videos, and watch tons of user-made videos.
Dailymotion : What is it?
A French entrepreneur and an English entrepreneur founded Dailymotion in 2005. Dailymotion became one of the most popular video platforms in France and then Europe in just 1 year. You can upload and share videos on Dailymotion like on YouTube. There is a slight difference in their focus. Dailymotion’s content tends to be professional, while YouTube’s is user-made.
Dailymotion has over 300 million users every month. It’s accessible in 35 different languages. Also, for pro content, it offers features like “Motionmaker” to users and live streaming to creators.
The popularity and user base of YouTube and Dailymotion
YouTube’s user interface is very easy and simple to use. You can filter the results with date and popularity at the top bar of the website. You can watch YouTube without ads and gain access to YouTube analytics.
It’s cool to create your own channel on YouTube. It allows you to upload videos, customize your banner, and create a community.
It is easy to stream videos or share them with friends by creating playlists. YouTube and Dailymotion both have easy-to-use interfaces. You can customize your own channel, and it has categories and channels. YouTube has advanced playlist features, but Dailymotion does not.
It’s not all fun and games - YouTube has fewer ads than Dailymotion. A premium subscription to Dailymotion removes the ads and gives you access to other features.
Both Platforms have Different Content and Audiences
YouTube Content and Audience
Video content on YouTube ranges from cooking tips to music videos. It even offers live streaming concerts and mind-blowing documentaries. Gamer, beauty, sports, and learning enthusiasts will enjoy this channel.
YouTube allows you to upload 12-hour-long videos to increase your watch time. You can also share all types of experiences in the long video. Every day, 2.51 billion active users watch over one billion hours of content. Creators can showcase their work in high definition, up to 8K, on the platform, which is a major advantage. Mobile devices and smartphones also allow offline viewing of videos.
Dailymotion Content and Audience
There’s something special about Dailymotion. The site provides YouTube videos, animated shorts, music, documentaries, and TV shows. Although Dailymotion has upload limits, its videos are still of high quality, up to 1080p. There is a vibrant community of creators looking to connect with their audiences as well. There were 545.3 million visits to Dailymotion in April 2023, making it a strong competitor. Depending on your taste and the content you’re looking for, you can choose either.
Part 2. YouTube vs. Dailymotion Monetization: Unraveling the Key Differences
YouTube and Dailymotion monetization features and opportunities
It’s crucial for content creators to know which monetization options each platform offers. Let’s have a look at the monetization options available on YouTube and Dailymotion. It is possible to earn money from your content on both Dailymotion and YouTube. Dailymotion is easier to monetize, despite its broader and more sophisticated offering.
Programs and options for monetizing YouTube
There are many ways for YouTube creators to make money from their content. You can display video ads for sponsorships, AdSense payments, and merchandise sales. YouTube offers more monetization options and is more advanced than Dailymotion. The YouTube monetization rules can be tricky to meet for eligible accounts.
Programs and options for monetizaton Dailymotion
Creators can also monetize their content on Dailymotion. Dailymotion has fewer monetization options than YouTube. Unlike YouTube, Dailymotion allows creators to earn money through ads.
The Dailymotion Partner Program has made several French video creators extremely wealthy. The CPM is always low for video creators around the world, for whatever reason. Dailymotion Partners from France earn 3000 - 4000 euros per month. Global Partners withdraw the monthly least of $100.
Monetization Requirements and Earning Potential
YouTube’s YPP monetizes accounts with 1,000 subscribers and earns revenue through advertising. You’ll get 55% of the revenue generated by the ads shown during, before, and after your videos. It is also possible to charge channel memberships. For every 1,000 views, the average YouTuber makes about $18.
The Dailymotion Partner Program monetizes your videos. The least number of views you need to monetize your content is 1,000 (combined). One hour of watch time on the platform generates $57 in income, making it a great way to make money!
Choosing Between YouTube and Dailymotion Channel Monetization
Now that you’ve seen a YouTube vs. Dailymotion comparison, you are leaning toward one. Let’s dive into some key questions if you’re still not sure ( you can use both platforms ):
- Do you have a specific group in mind? It’s important to think about who your audience is.
- Are Your Videos Targeted? Do your videos match specific search queries?
- Video Length and Size: How long and big are your videos?
- Monetization: Want to make money? Consider your subscriber count.
- Privacy Control: How much control do you need over your content’s privacy?
- Analytics: Do you want detailed data on your video performance?
YouTube is your best bet if you want organic search traffic, a wide audience, and hefty videos. If you want privacy control, or if you want to monetize, Dailymotion shines.
Whatever you pick, remember to add captions to your videos. Transcription tools can help with that, making your content more accessible and engaging.
Part 3. Enhance Your Monetization Journey with Wondershare Filmora: A Video Editing Solution
Let’s take a look at a powerful tool to enhance your gaming experience. It’s Wondershare Filmora. Creating engaging and valuable videos is easy with Wondershare Filmora. An attractive user interface, a media library, and many useful features make it a great choice. A video tool that turns content creators’ vision into professional content. Filmora is perfect for YouTubers, filmmakers, and vloggers of all skill levels.
Free Download For Win 7 or later(64-bit)
Free Download For macOS 10.14 or later
Filmora Features for Monetization Magic
1.Creative Templates
Filmora’s video templates make it easy to create nice videos. With these templates, you can easily make a captivating intro or an engaging end screen. You make more money when you keep your audience interested.
2. Advanced Audio Editing
To create engaging content, you must have great audio. With Filmora’s audio tools, you can stretch, denoise, and duck audio to improve your videos. Having engaged viewers means you’re more likely to generate income from ads and sales.
3. Enhancing Your Videos with Video Effects
Using Wondershare Filmora, you can transform your ordinary videos into something extraordinary. There are a variety of effects available, such as overlays, filters, and transitions. Filters allow you to change your videos’ feel and appearance. With overlays, like glitch overlays, you can enhance your videos.
4. Color Correction
Wondershare Filmora’s color correction tool can make your videos much better. You can change the colors and mood of your videos with Filmora’s color options. To make your videos look more professional, you can adjust their brightness or darkness. Using vibrant colors can help you earn more and draw in more customers.
Conclusion
When it comes to making money from your passion, picking the right platform is crucial. This guide has shown the main differences between YouTube and Dailymotion monetization. With Wondershare Filmora, you can make the most money from both places.
YouTube is great for long videos, a big audience, and finding people naturally. Monetization Dailymotion is good for making money without needing as many subscribers.
If you put captions on your videos, more people will watch. Think of Filmora as a friend who helps you make money with fun, good videos. It’s like having a partner in making money from your videos.
Time Markers for YouTube Videos: Expert Tips (Desktop/Mobile)
How to Add Timestamps on YouTube Video Link?

Richard Bennett
Mar 27, 2024• Proven solutions
It is a well-known fact that internet users have a short interest span, about just eight seconds. This attention span applies to all internet platforms including YouTube. YouTube is the second largest and most visited search engine after Google. It provides users with information through engaging and eye-catchy videos. However, certain videos are longer where only a particular section of the video holds the important information. Viewers tend to skip the long videos and if you do not want this to happen to you, you can link to that specific part on your video adding value for your channel viewers with a link known as the YouTube Timestamp link.
When you have a Timestamp link on your video, you can help your viewers directly reach the specific time in the video. This helps avoid the viewers from losing interest or to search for the key part in your video themselves.
Here in this article, we will explain Timestamp links, how to add Timestamp to YouTube video links, and what are the benefits of Timestamp.
- Part 1: YouTube Timestamp Links Introduction
- Part 2: Adding a Timestamp to YouTube Video Link on Desktop
- Part 3: How to Share Specific Parts of YouTube Video
- part 4: Getting YouTube Timestamp Link on Mobile
- Part 5: FAQ About YouTube Timestamps
Part 1: What is YouTube Timestamp Links
In this fast-paced world where viewers have limited time at hand, YouTube Timestamp links are extremely helpful. These links are anchor text or video hyperlinks found either in the description beneath the video or at the video link end.

The Timestamps links allow you to put a link to a key moment in your YouTube video allowing the viewers and subscribers to view the video at the precise time specified. Your YouTube video maybe half an hour long or maybe your users do not have the time now or forget to later watch your video, but when you add Timestamp to the YouTube link, you provide them ways to get to the content quickly enhancing the user experience.
In addition to this, you can even provide a reference in minutes and hours where necessary. The YouTube Timestamp link acts as a guide that directs viewers to the part of the video, which is most relevant to them without having to watch the entire video.
Part 2: How to Add a Timestamp to YouTube Video Link on Desktop?
In the following section, I will show you how to add timestamp to YouTube video link in several ways.
Use YouTube’s Share Feature
Using YouTube’s share feature is the simplest way to add Timestamp to YouTube videos. Here are easy steps to follow to do this.
- Open the YouTube video on your desktop that you want to share.
- Play the video or navigate the timeline and stop at the key moment you wish to apply the timestamp to.
- Now click on the Share button, a pop-up will appear. Under the URL, you will see a small box indicating Start at. The Timestamp is generated automatically, but you can adjust it.

- Copy the updated URL with Timestamp to share the video or click on the social sharing icons to do so.
- When your viewers click on this URL, the video will begin at the specified Timestamp.
Use the Browser URL to add Timestamp manually
You can add Timestamp manually as well. Follow the step-by-step guide below to add a Timestamp manually.
- Open your YouTube video in a browser on your desktop and then find the URL in the browser’s address bar.
- Enter the specific time you want the viewers to watch the video from at the end of the video URL.
You can add time manually in two ways depending on the URL.
?t=As or
&t=As
“youtu.be/” Format
If your YouTube video link is a youtu.be format, then just add ?t=As at the end of the video link. The A denotes the seconds at which you want the viewer to watch your video. The time can also be specified in minutes and seconds and when you want to do that just add ?t=AmBs. For instance, ?t=2m40s.
“youtube.com/” Format
When your YouTube video link has a youtube.com format, the adjustment starts with an ampersand. &t=As or &t=AmBs is what you can use. If you are looking to add the Timestamp at 2m40s, just add “&t=2m40s at the end of the video URL.
Whenever anybody uses the URL with Timestamp, the video will start from the specified time.
However, when adding a Timestamp manually, always leave include whole numbers. For example, if the time starts at 4m, use 4 and not 04.
Copy video URL at current time
You can use YouTube’s built-in feature to share the key parts of your YouTube video. Follow the steps here.
- Visit YouTube and open the video you want to add Timestamp link to.
- Play the video or navigate the timeline to reach the specific part you like to use in Timestamp.
- Now either press Ctrl + click or right-click anywhere on the video. A pop-up opens where you can see various texts, click on the Copy video URL at current time and share the link.

- Anyone who clicks on this link will be instantly transported to the exact segment of your YouTube video.
Part 3: How to Share Specific Parts of Videos with Vibby and Get YouTube Link with Timestamp
The above-mentioned methods to add and send YouTube link with timestamp are quick and easy, but they have a few limitations. If you need more control and share highlighted parts of YouTube video without cutting the video, you need to use a third-party tool known as Vibby.
Vibby allows you to not only share specific parts of videos from YouTube but other platforms as well like Vimeo and Twitch. With the tool, you can clip multiple sections of the video and share them with others.
- To get started, signup either with mail, Google, Twitter, Facebook, or Twitch account.
- Once signed in, go to Create vib at the top left corner and then paste the URL of the YouTube video you would like to share and then click on the Start button.

- Your video will load in the Vibby editor, now click on Highlight the parts to share.
- Here you will see the Start highlight button, jump 5-sec option, option to switch between HD and SD video quality, and volume control button. Navigate to the part you want to share and click on Start highlight.

- When you reach the end of the part, click on Finish highlight. Repeat the process to highlight multiple parts of the video. All the highlighted parts will appear in a list on the right side of the screen.
- Add a description to each part and format it, you have the option to preview before hitting the Save vib button.
- Name the vib and assign a category and then publish it to Vibby or make it a private vib.
- You get a dedicated link to your vib with the ability to embed it on your website or blog.
In this way, you can share the highlights of the YouTube video or Vimeo video easily.
Part 4: How to Get YouTube Timestamp Link on iPhone and Android?
Linking to specific YouTube Timestamp Link is straightforward on both iPhone and Android.
- Go to YouTube and select the video you want to share.
- Move through the progress bar of the video to reach the key part and click on the Share button.
- A pop-up menu appears, highlight the URL and click on the Copy button.
- Paste the URL and manually add the Timestamp using the steps mentioned in add a Timestamp manually.
Part 5: Is Timestamp Beneficial for your Video?
Timestamping your YouTube videos may decrease the watch time, but it enhances the user experience, and they want to see more of your videos. Apart from this, adding Timestamps to your videos make your videos discoverable through Google search. YouTube and Google will reward you for the videos in form of a high search engine ranking.
Bonus: How to Add YouTube Timestamp Link in YouTube Video Description
Adding a YouTube Timestamp link in your video description is easy. Here are the steps to do so.
- Go to your YouTube channel and select the video you want to add Timestamp to and then navigate to the description below it.
- Edit the description by clicking on the Edit Video button.
- You are redirected to the Video Details page. Here write 0:00 at the first part of the timecode, and then continue with the time of the key part of the video you want to add the Timestamp to in 2:40 format. You can add more Timestamp as well and then click on the Save button.

- Reload the video page and you will see auto-generated Timestamp Links at the specific time you provided in the description.
Note: You need to add at least three timestamps which are 10 seconds or longer in order to add timestamps successfully.
Conclusion
As much as possible YouTubers want to make videos short and to the point. However, if a video needs to be longer, you can still help users navigate through to find what is important to them by adding Timestamp to YouTube link or Timestamp the YouTube descriptions. This can help your viewers jump straight to the interesting part in the video, rather than viewing the entire video saving their time and boost user experience.
Richard Bennett
Richard Bennett is a writer and a lover of all things video.
Follow @Richard Bennett
Richard Bennett
Mar 27, 2024• Proven solutions
It is a well-known fact that internet users have a short interest span, about just eight seconds. This attention span applies to all internet platforms including YouTube. YouTube is the second largest and most visited search engine after Google. It provides users with information through engaging and eye-catchy videos. However, certain videos are longer where only a particular section of the video holds the important information. Viewers tend to skip the long videos and if you do not want this to happen to you, you can link to that specific part on your video adding value for your channel viewers with a link known as the YouTube Timestamp link.
When you have a Timestamp link on your video, you can help your viewers directly reach the specific time in the video. This helps avoid the viewers from losing interest or to search for the key part in your video themselves.
Here in this article, we will explain Timestamp links, how to add Timestamp to YouTube video links, and what are the benefits of Timestamp.
- Part 1: YouTube Timestamp Links Introduction
- Part 2: Adding a Timestamp to YouTube Video Link on Desktop
- Part 3: How to Share Specific Parts of YouTube Video
- part 4: Getting YouTube Timestamp Link on Mobile
- Part 5: FAQ About YouTube Timestamps
Part 1: What is YouTube Timestamp Links
In this fast-paced world where viewers have limited time at hand, YouTube Timestamp links are extremely helpful. These links are anchor text or video hyperlinks found either in the description beneath the video or at the video link end.
The Timestamps links allow you to put a link to a key moment in your YouTube video allowing the viewers and subscribers to view the video at the precise time specified. Your YouTube video maybe half an hour long or maybe your users do not have the time now or forget to later watch your video, but when you add Timestamp to the YouTube link, you provide them ways to get to the content quickly enhancing the user experience.
In addition to this, you can even provide a reference in minutes and hours where necessary. The YouTube Timestamp link acts as a guide that directs viewers to the part of the video, which is most relevant to them without having to watch the entire video.
Part 2: How to Add a Timestamp to YouTube Video Link on Desktop?
In the following section, I will show you how to add timestamp to YouTube video link in several ways.
Use YouTube’s Share Feature
Using YouTube’s share feature is the simplest way to add Timestamp to YouTube videos. Here are easy steps to follow to do this.
- Open the YouTube video on your desktop that you want to share.
- Play the video or navigate the timeline and stop at the key moment you wish to apply the timestamp to.
- Now click on the Share button, a pop-up will appear. Under the URL, you will see a small box indicating Start at. The Timestamp is generated automatically, but you can adjust it.
- Copy the updated URL with Timestamp to share the video or click on the social sharing icons to do so.
- When your viewers click on this URL, the video will begin at the specified Timestamp.
Use the Browser URL to add Timestamp manually
You can add Timestamp manually as well. Follow the step-by-step guide below to add a Timestamp manually.
- Open your YouTube video in a browser on your desktop and then find the URL in the browser’s address bar.
- Enter the specific time you want the viewers to watch the video from at the end of the video URL.
You can add time manually in two ways depending on the URL.
?t=As or
&t=As
“youtu.be/” Format
If your YouTube video link is a youtu.be format, then just add ?t=As at the end of the video link. The A denotes the seconds at which you want the viewer to watch your video. The time can also be specified in minutes and seconds and when you want to do that just add ?t=AmBs. For instance, ?t=2m40s.
“youtube.com/” Format
When your YouTube video link has a youtube.com format, the adjustment starts with an ampersand. &t=As or &t=AmBs is what you can use. If you are looking to add the Timestamp at 2m40s, just add “&t=2m40s at the end of the video URL.
Whenever anybody uses the URL with Timestamp, the video will start from the specified time.
However, when adding a Timestamp manually, always leave include whole numbers. For example, if the time starts at 4m, use 4 and not 04.
Copy video URL at current time
You can use YouTube’s built-in feature to share the key parts of your YouTube video. Follow the steps here.
- Visit YouTube and open the video you want to add Timestamp link to.
- Play the video or navigate the timeline to reach the specific part you like to use in Timestamp.
- Now either press Ctrl + click or right-click anywhere on the video. A pop-up opens where you can see various texts, click on the Copy video URL at current time and share the link.
- Anyone who clicks on this link will be instantly transported to the exact segment of your YouTube video.
Part 3: How to Share Specific Parts of Videos with Vibby and Get YouTube Link with Timestamp
The above-mentioned methods to add and send YouTube link with timestamp are quick and easy, but they have a few limitations. If you need more control and share highlighted parts of YouTube video without cutting the video, you need to use a third-party tool known as Vibby.
Vibby allows you to not only share specific parts of videos from YouTube but other platforms as well like Vimeo and Twitch. With the tool, you can clip multiple sections of the video and share them with others.
- To get started, signup either with mail, Google, Twitter, Facebook, or Twitch account.
- Once signed in, go to Create vib at the top left corner and then paste the URL of the YouTube video you would like to share and then click on the Start button.
- Your video will load in the Vibby editor, now click on Highlight the parts to share.
- Here you will see the Start highlight button, jump 5-sec option, option to switch between HD and SD video quality, and volume control button. Navigate to the part you want to share and click on Start highlight.
- When you reach the end of the part, click on Finish highlight. Repeat the process to highlight multiple parts of the video. All the highlighted parts will appear in a list on the right side of the screen.
- Add a description to each part and format it, you have the option to preview before hitting the Save vib button.
- Name the vib and assign a category and then publish it to Vibby or make it a private vib.
- You get a dedicated link to your vib with the ability to embed it on your website or blog.
In this way, you can share the highlights of the YouTube video or Vimeo video easily.
Part 4: How to Get YouTube Timestamp Link on iPhone and Android?
Linking to specific YouTube Timestamp Link is straightforward on both iPhone and Android.
- Go to YouTube and select the video you want to share.
- Move through the progress bar of the video to reach the key part and click on the Share button.
- A pop-up menu appears, highlight the URL and click on the Copy button.
- Paste the URL and manually add the Timestamp using the steps mentioned in add a Timestamp manually.
Part 5: Is Timestamp Beneficial for your Video?
Timestamping your YouTube videos may decrease the watch time, but it enhances the user experience, and they want to see more of your videos. Apart from this, adding Timestamps to your videos make your videos discoverable through Google search. YouTube and Google will reward you for the videos in form of a high search engine ranking.
Bonus: How to Add YouTube Timestamp Link in YouTube Video Description
Adding a YouTube Timestamp link in your video description is easy. Here are the steps to do so.
- Go to your YouTube channel and select the video you want to add Timestamp to and then navigate to the description below it.
- Edit the description by clicking on the Edit Video button.
- You are redirected to the Video Details page. Here write 0:00 at the first part of the timecode, and then continue with the time of the key part of the video you want to add the Timestamp to in 2:40 format. You can add more Timestamp as well and then click on the Save button.
- Reload the video page and you will see auto-generated Timestamp Links at the specific time you provided in the description.
Note: You need to add at least three timestamps which are 10 seconds or longer in order to add timestamps successfully.
Conclusion
As much as possible YouTubers want to make videos short and to the point. However, if a video needs to be longer, you can still help users navigate through to find what is important to them by adding Timestamp to YouTube link or Timestamp the YouTube descriptions. This can help your viewers jump straight to the interesting part in the video, rather than viewing the entire video saving their time and boost user experience.
Richard Bennett
Richard Bennett is a writer and a lover of all things video.
Follow @Richard Bennett
- Title: "In 2024, Profitability Playbook The Ultimate Duo of Dm & Yo"
- Author: Thomas
- Created at : 2024-05-31 12:40:04
- Updated at : 2024-06-01 12:40:04
- Link: https://youtube-help.techidaily.com/in-2024-profitability-playbook-the-ultimate-duo-of-dm-and-yo/
- License: This work is licensed under CC BY-NC-SA 4.0.
